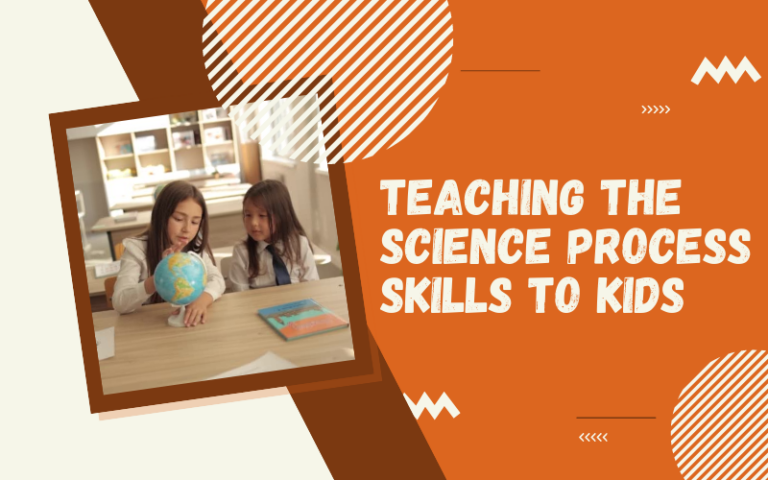
Education and fun can go hand in hand, and if we teach our children correctly, following the scientific process to do some cool experiments at home will be a wonderful activity for them that combines play and education in a brilliant way.
With this in mind, we’re happy to share with you our suggestions for teaching kids the scientific method.
Why Teach the Scientific Process to your Children?
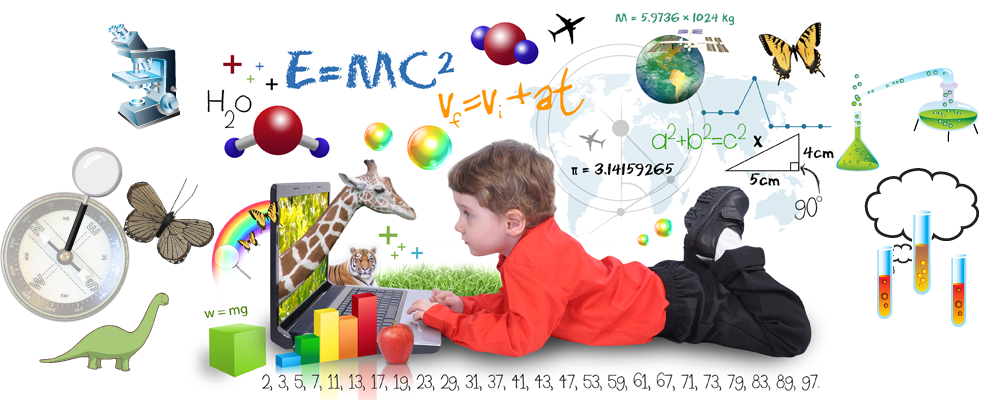
As we’ve talked about in some other articles, if we forget about lab coats and PHDs for a second, science is basically investigating how the world around us works, and we do this by making assumptions and then testing them with real life actions.
From almost as soon as they are born, kids are the best ‘scientists’ or earth, as they are constantly exploring the world around them, interacting with everything, and learning what happens when they do x, y and z. Pushing, pulling, prodding, shaking and all the other things kids naturally do in their play is how they come to grips with physics, spatial learning, gravity, cause and effect, and all the other kids of science stuff that their chemistry and biology teachers will be talking about once they hit high school. And if they’re already a little familiar with this, they’ll have a great head start.
Kids are naturally curious and inquisitive. They love experiments, learning, and find out about things, but it is up to parents to keep their wonderment and creative impulses alive. One of the ways to do this is to make games around the scientific process (also called scientific method), as these will be very fun and also educational. It will help with their developing problem-solving skills, as well as giving them a valuable experience in being part of a process and seeing it through to the end, something that will be of benefit in all aspects of their lives.
The Scientific Process for Kids
Just what is the scientific process then? Well, we can break it down into these handy steps below, which are just the same as what professionals use in laboratories and workshops all over the globe. We can then teach our kids to follow this process by doing some fun little experiments with them in the home.
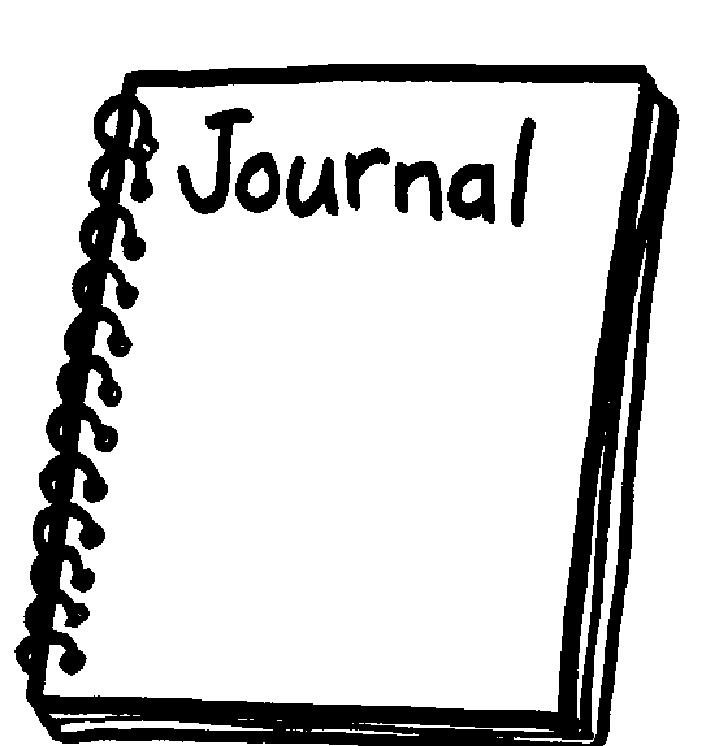
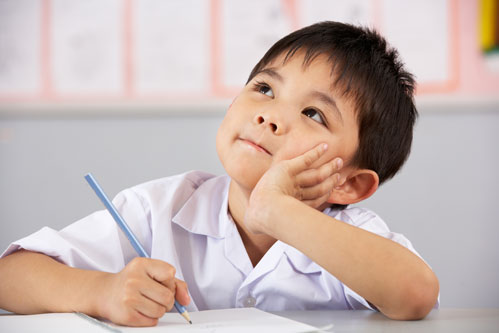
Get them to write all this down in a little journal. Keeping a science journal is not only a cool activity for them, but writing everything down will help with their learning.
STEP 1: Come Up With A Question
First, you need to come up with some kind of a question to test out. It is better if you can encourage your kid to come up with this themselves, but they might need a little help. For example, if your kid is drinking juice with ice in it, why not ask them whether ice dissolves faster in water or in other liquids, like juice or milk? This could be a brilliant way to test the science behind the process.
STEP 2: Hypothesis (Prediction)
So we’ve got a question. Now our little scientist has to make a prediction. This should always be simple and to the point. In the case of the above example, your child could say ‘Ice melts quicker in water than in milk’.
STEP 3: Do an Experiment!
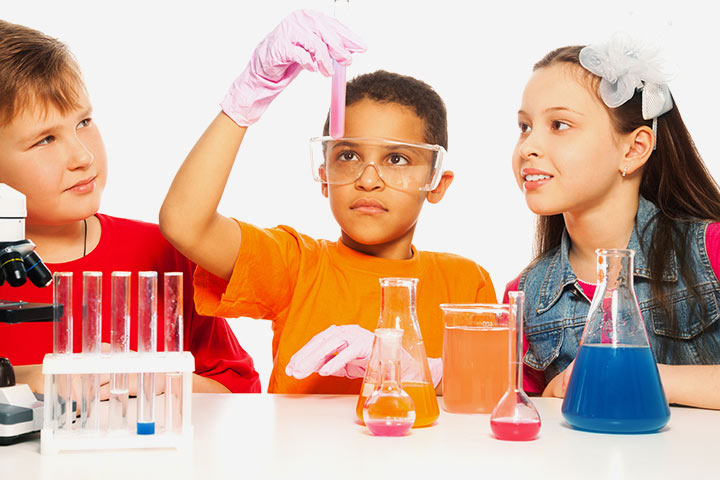
We’ve got our hypothesis, and now we need to set up the experiment to find out. Older kids might be able to come up with the experiment all by themselves, but younger ones will need some help. Also, make sure you have some tools to help you measure things. For example, if we’re doing the ice melting in water and milk, we’ll need some kind of measuring jug or spoon to make sure we have the same amount of water and milk in each glass, and that handy stopwatch app on your smartphone will come in handy for timing.
You can also help your child draw up little pictures showing how they did the experiments. These diagrams don’t have to be 100% accurate, but it is a good part of the learning process and fun is what science is all about.
STEP 4: Record Results and Draw Conclusions
Make sure to record what is happening and the results, and take down times and other things that show big changes. In the melting example, you can time when the melting starts, and when each one is completely melted
Once this is done, your child should be able to see the results of the experiment, and they can write this down in their journal.
STEP 5: Compare results with the original hypothesis

The very last step, then, is to go back to our original prediction and see if the results of the experiment prove it to be true or false. They can then finish up the experiment by writing the conclusion in their journal, and also some ideas for further experiments (maybe milk vs apple juice next time?)
This might sound like a lot for a kid, especially a younger one, to get to grips with, and you are right. But don’t worry about it, and feel free to modify this depending on your child’s capacities and age. You can easily simplify one of the steps, or help them with the hard bits like the hypothesis or the conclusions.
Cool Ideas for more experiments
What we really want at the end of the day is for your child to come up with their own ideas for experiments, but could be a little hard for younger children or those just starting out with the good process. Using tools like microscopes and science toys always adds to the fun. So, here are a few ideas for things that you can try together, and please feel free to change or adapt these as you see fit. However, remember that you want things to get more complex and you kids gets the hang of it.
- Skittles dissolve faster in warm water than cold water.
- Testing to see which objects will sink and float in water.
- What absorbs and what doesn’t (Styrofoam, paper, clothes, saran wrap, tissue etc)
- What surfaces will eggs/fruits break on when falling on (a little messy but very fun)
- What type of paper is the strongest when wet
We hope this article has been helpful to you, and remember to please be very safe and careful with these experiments with your children, especially if you are using hot water or any liquids that can damage their eyes or anything like that. And DON’T FORGET safety goggles and gloves, and perhaps get your kids to wear some old clothes just in case.